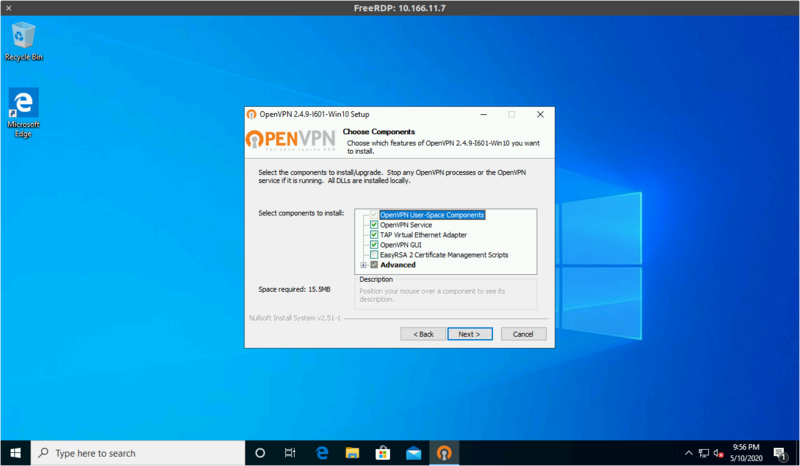
Install using the default set of components:
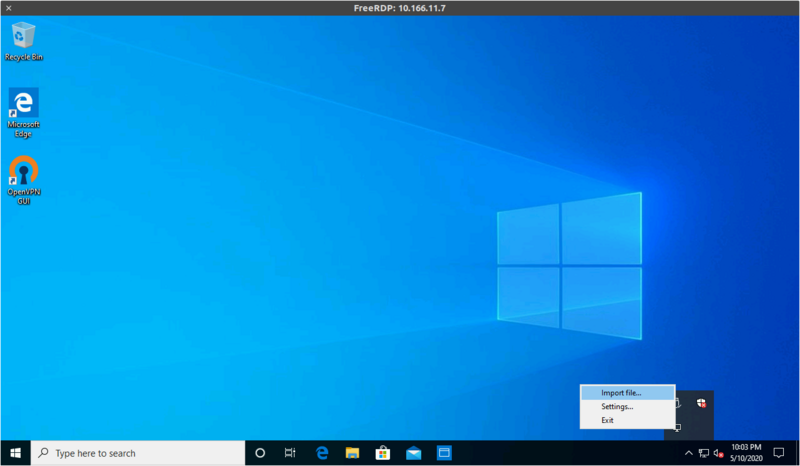
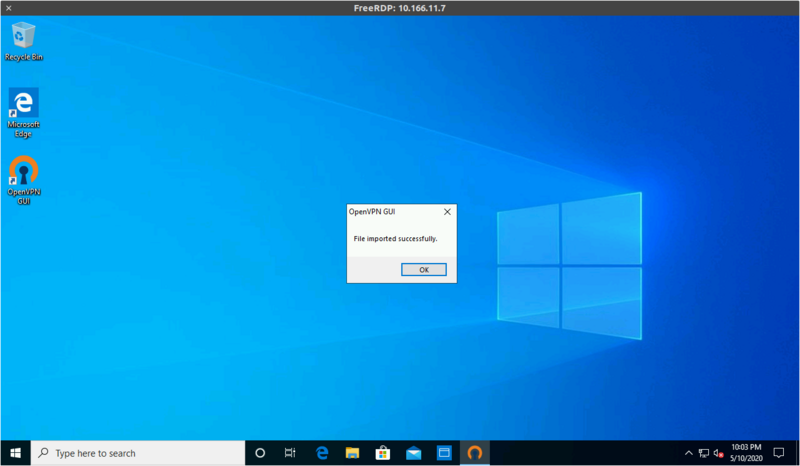
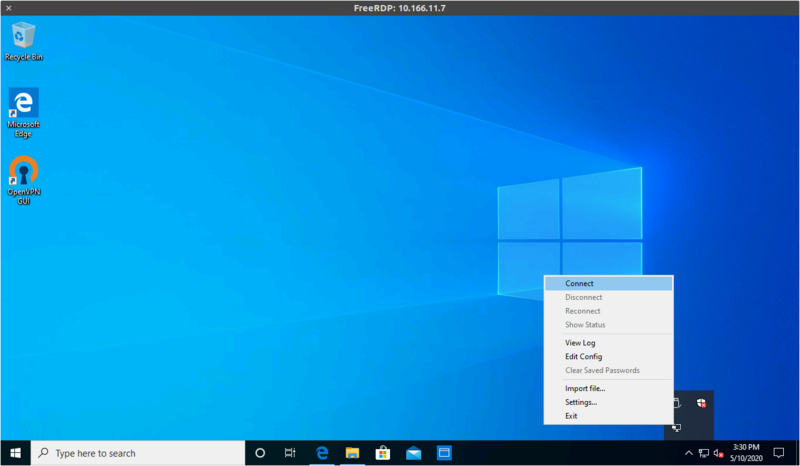
Right-click on the tray icon and select "Import file...", then pick the .ovpn file you'll have received by e-mail
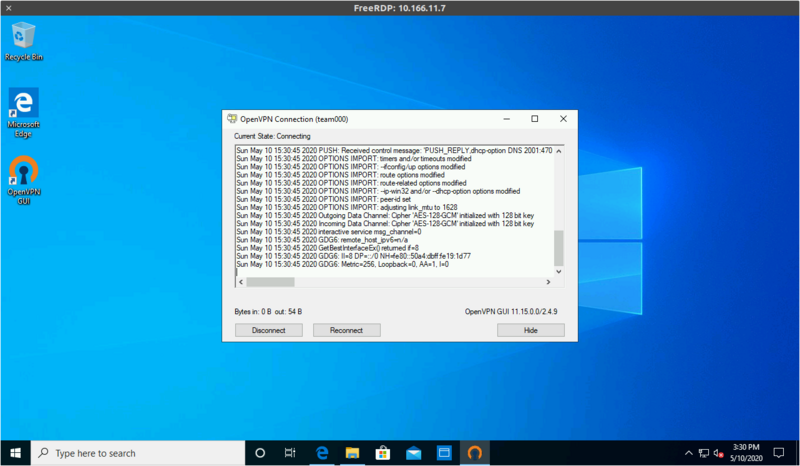
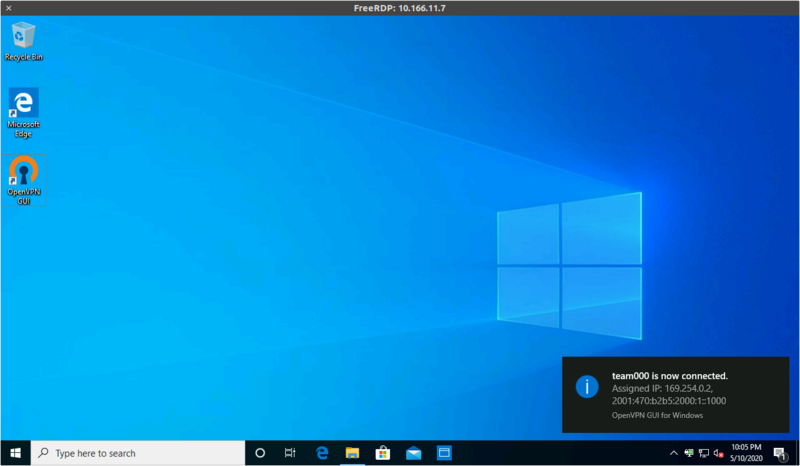
Right-click on the tray icon again and select "Connect"
We currently have tested and confirmed those instructions on:
Every team has a dedicated VPN port on a shared VPN endpoint at ctf.remote.nsec.io
The VPN is OpenVPN and requires a minimal version of 2.4 to function.
The record at ctf.remote.nsec.io can change at any time as we may need to rotate addresses during the event.
Always use the DNS name or you'll have problems.
The TLDs ".nsec" and ".ctf" are resolved by our DNS infrastructure over the VPN.
If for some reason, you're not using our DNS servers, then you will be unable to access any of the CTF websites and challenges.
The VPN does not provide global routing. Only the 2602:fc62:ef::/48 and 9000::/16 subnets can be accessed through the VPN.
If connecting using something other than our recommended setup, you may need to configure your DNS with:
nsec. ctf.2602:fc62:ef:2::1WARNING: Chrome and Chromium based web browsers refuse to connect to IPv6-only servers when you don't have a default IPv6 gateway.
Because of that, you may need to use alternative web browsers or artifically configure your system to have a bogus IPv6 default gateway.
We operate our own Certificate Authority (CA) which can be used to validate all our internal websites.
It is very strongly recommended that you trust that CA in your browser if not system-wide.
This certificate authority is managed by the NorthSec infrastructure team and will only ever be used for internal domains.
The root certificate can be found here: ca.crt
If you find yourself unable to connect to the infrastructure, reach out to us.
We can be found in the #support channel on the NorthSec Discord.
Keep in mind that there are 3 people on the NorthSec infrastructure team for almost 1000 participants, so we'd kindly ask that you re-read the instructions and maybe check with one of your teammates before contacting us for support.
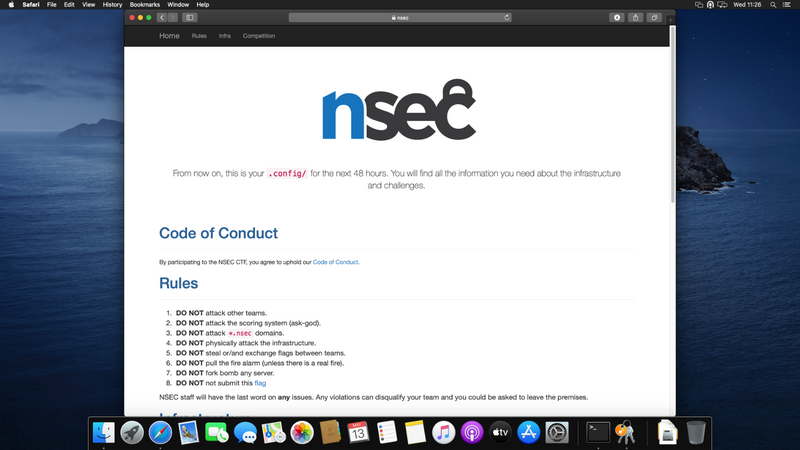
Once you're connected to the infrastructure, go to https://test.nsec to test if your VPN connection is working.
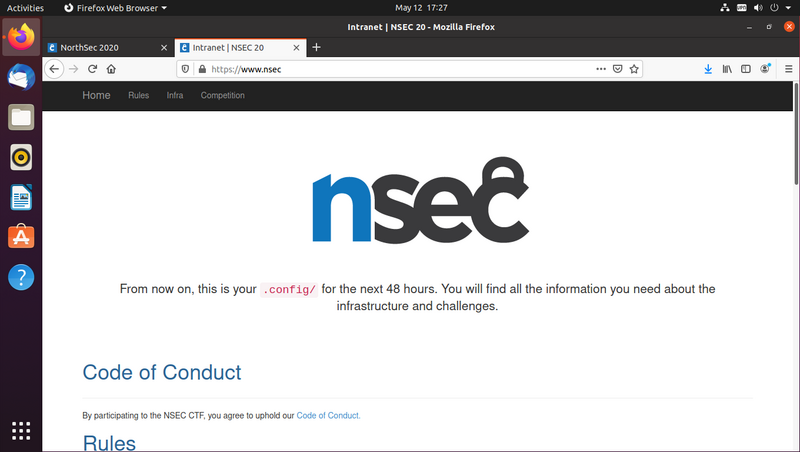
Once the CTF opens, your VPN will also give you access to https://www.nsec.
After reading the rules, you'll find a link to the forum used during the CTF.
You'll login with your Discord account and will be granted access to your team shortly afterwards.
Install using the default set of components:

Right-click on the tray icon and select "Import file...", then pick the .ovpn file you'll have received by e-mail


Right-click on the tray icon again and select "Connect"


NOTE: You may see some "netsh" failures during the connection. This is fine, it's a result of having a single cross-platform config.
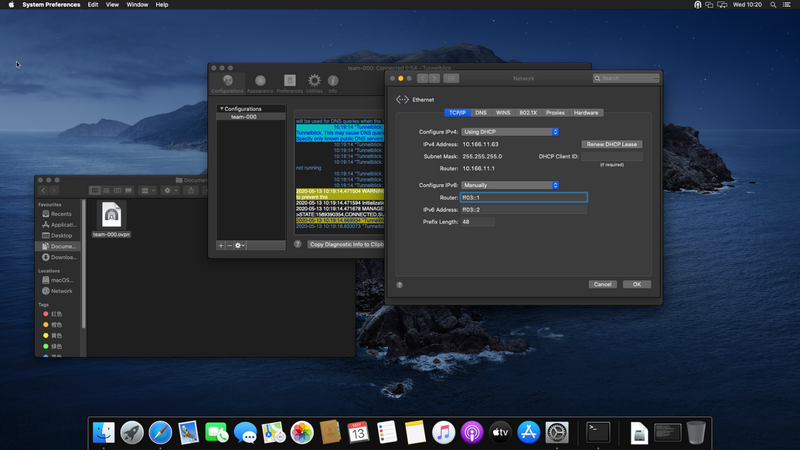
Unless you have native IPv6 connectivity, you need to trick macOS into thinking it has some.
To do this, edit your network connection, switch "Configure IPv6" to "Manually" and set "ff03::1" as your router, "ff03::2" as your address and "48" as prefix.
Download and open Tunnelblick from https://tunnelblick.net/downloads.html (we tested 3.8.2)
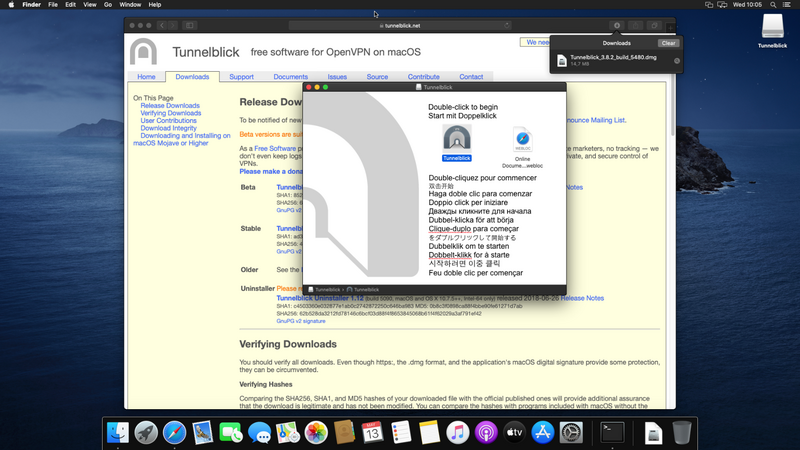
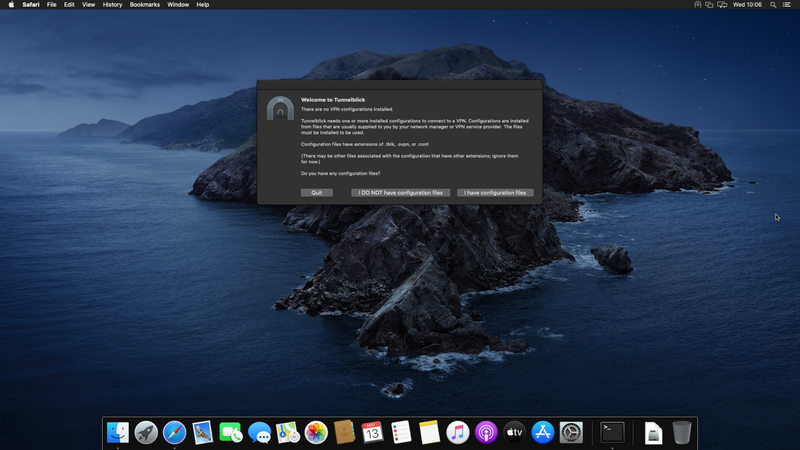
Once installed, click "I have configuration files" and then "Ok"
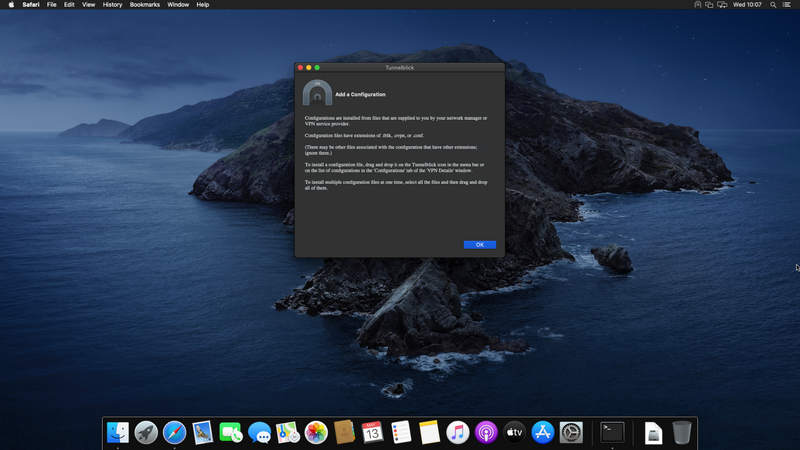
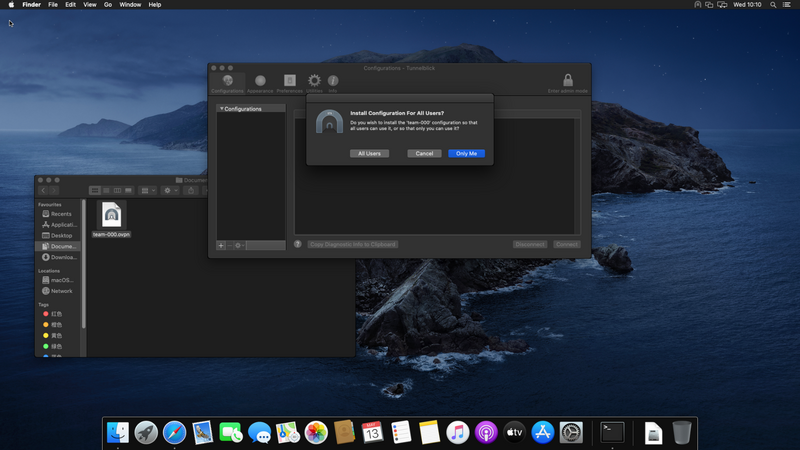
Open the "team-XXX.ovpn" file you'll have received by e-mail, select "Only Me" and authenticate
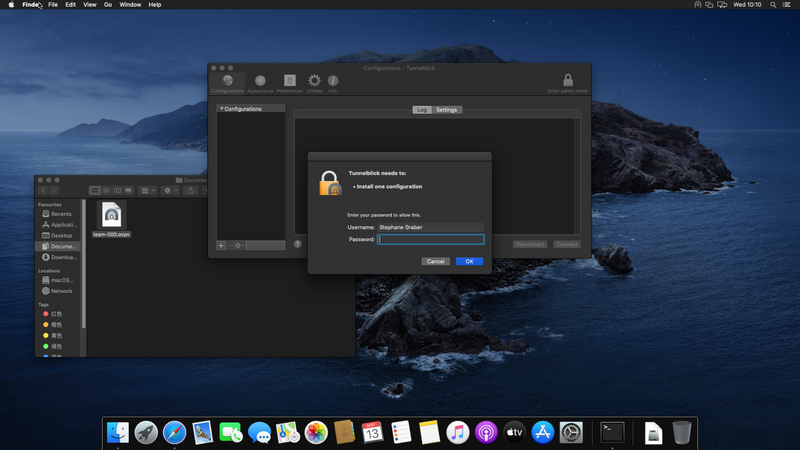
The VPN has now been added, click on the "Settings" tab
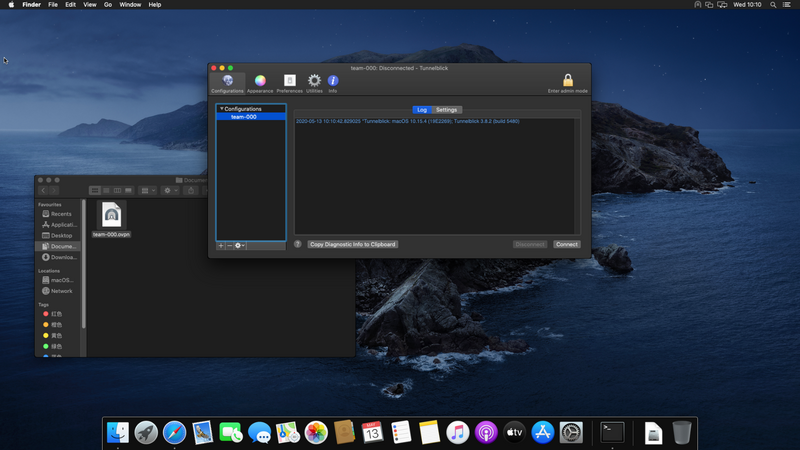
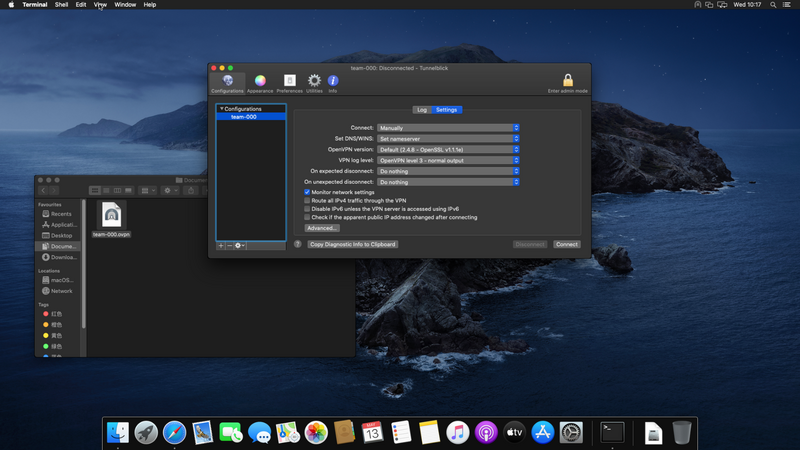
And untick "Disable IPv6 unless the VPN server is accessed using IPv6" and "Check if the apparent public IP address changed after connecting"
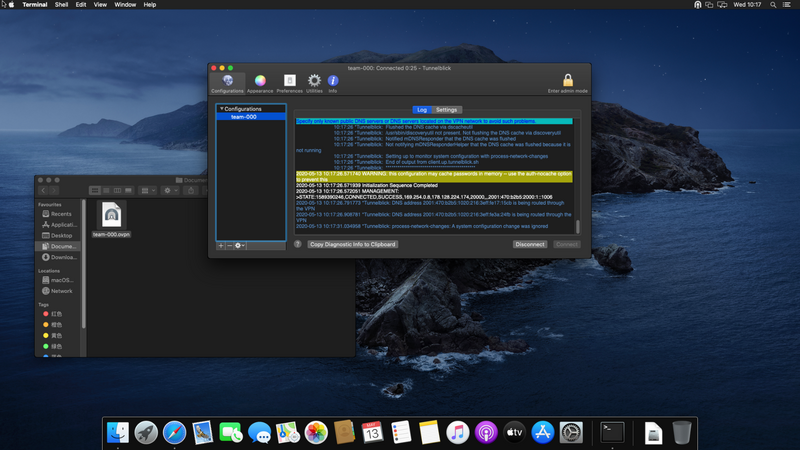
Then switch back to the "Log" tab and hit "Connect"
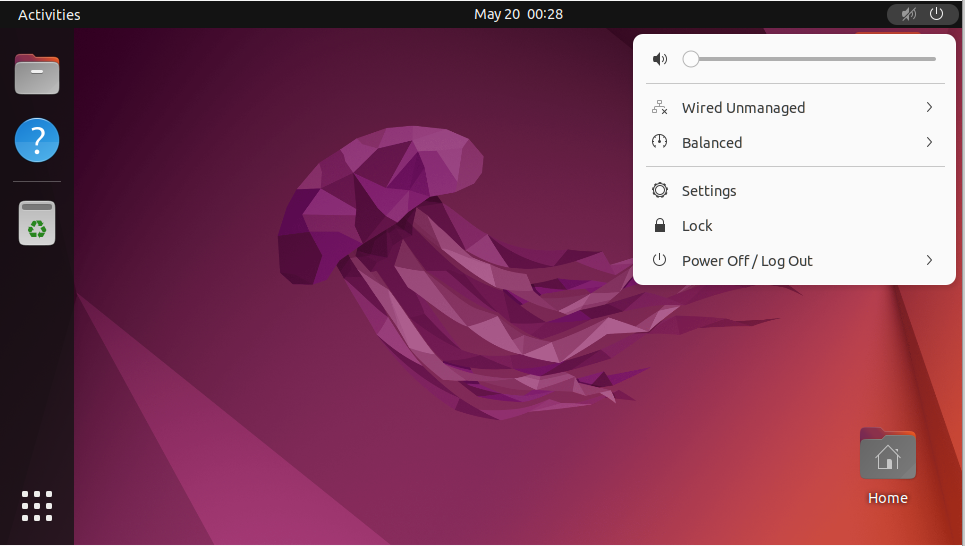
Open the system menu and click "Settings"
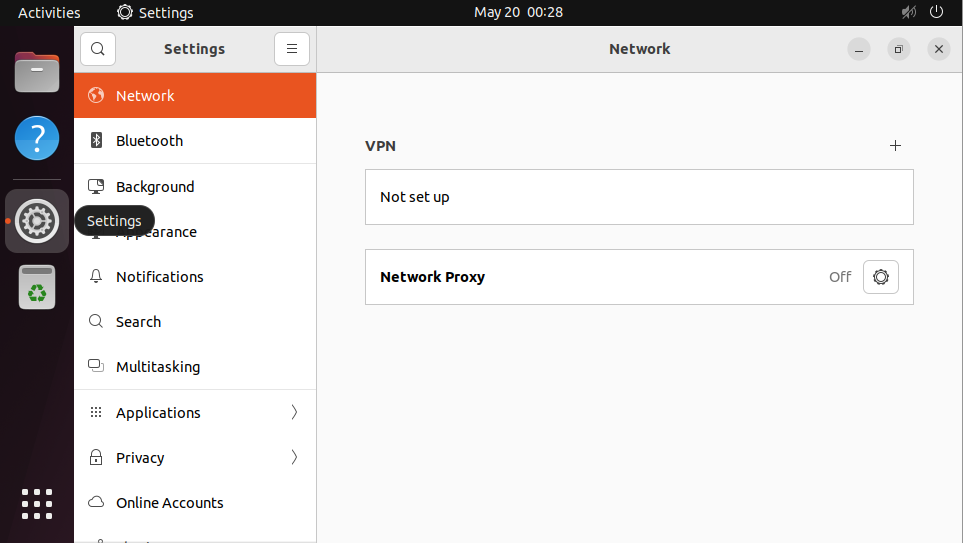
Select the "Network" panel and click the "+" sign next to "VPN"
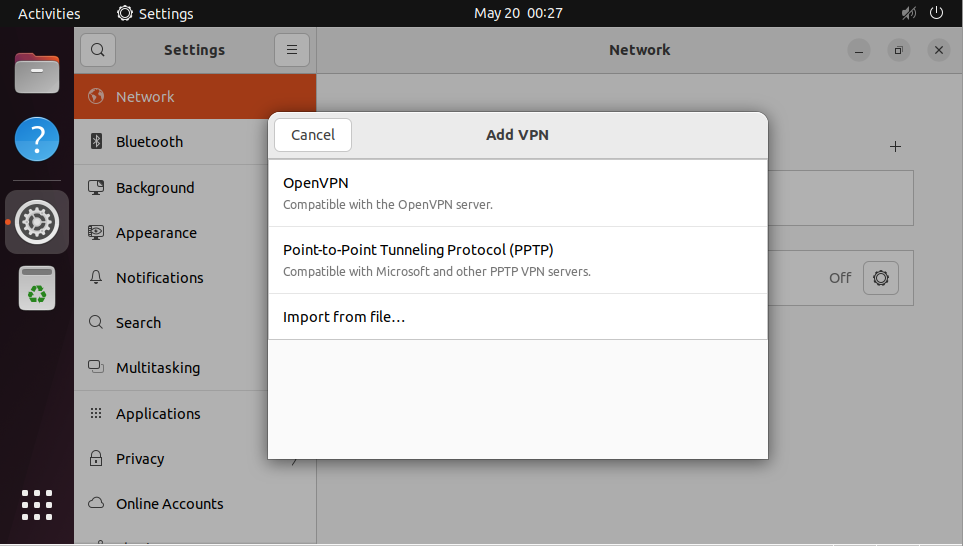
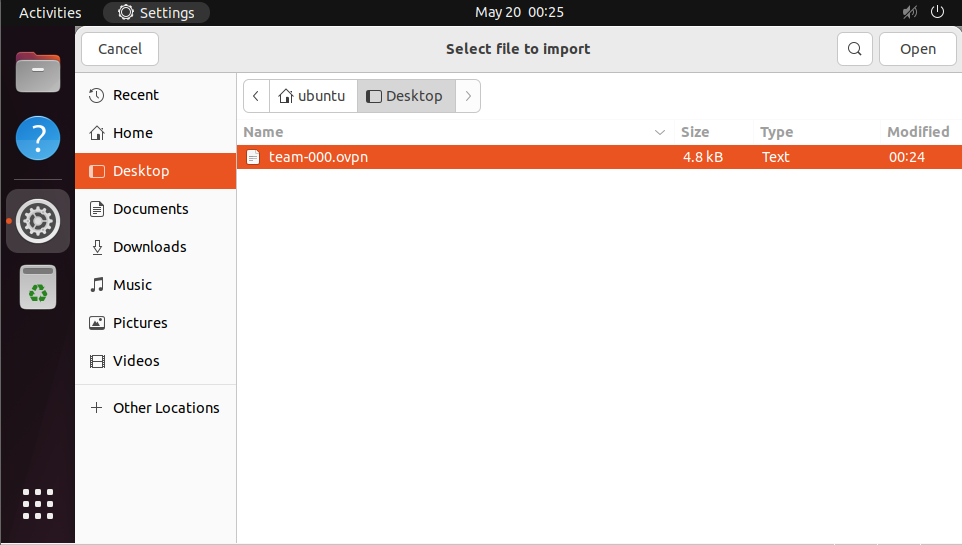
Select "Import from file..." then pick the .ovpn file you'll have received by e-mail
The imported VPN configuration will open, allowing you to make some changes.
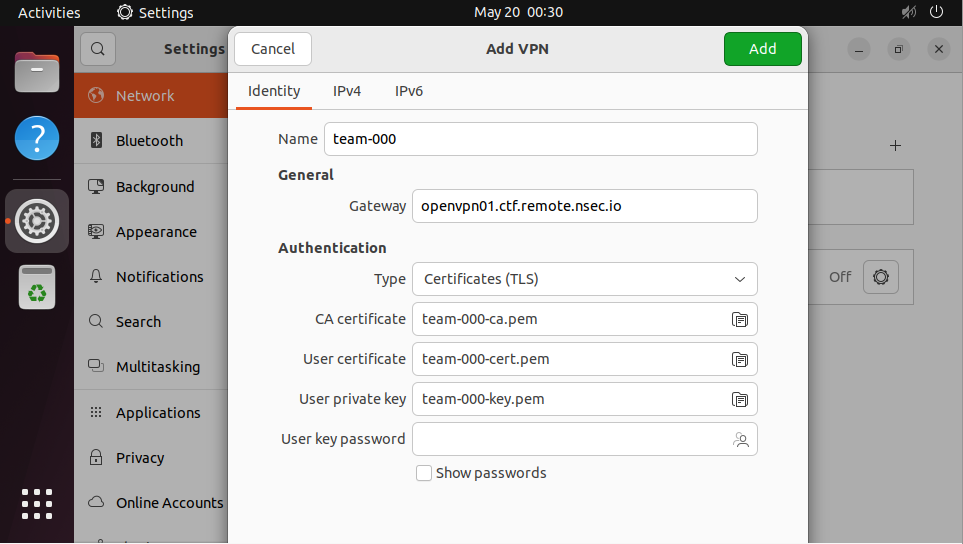
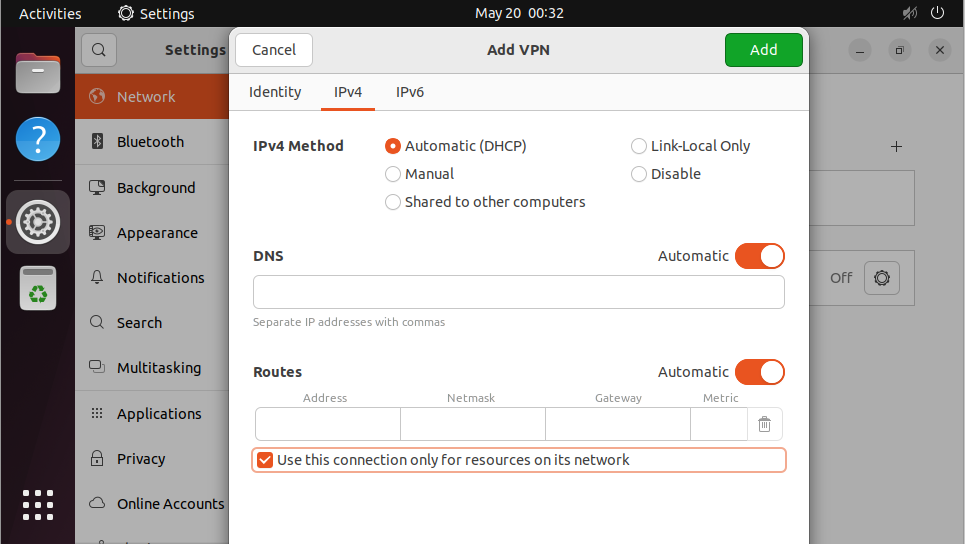
Go to the "IPv4" tab and tick "Use this connection only for resources on its network"
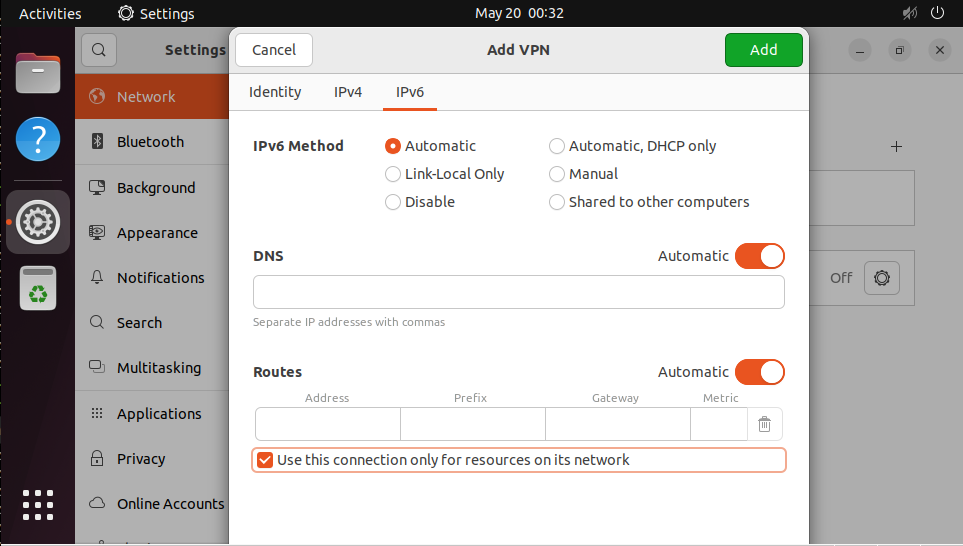
Go to the "IPv6" tab and tick "Use this connection only for resources on its network"
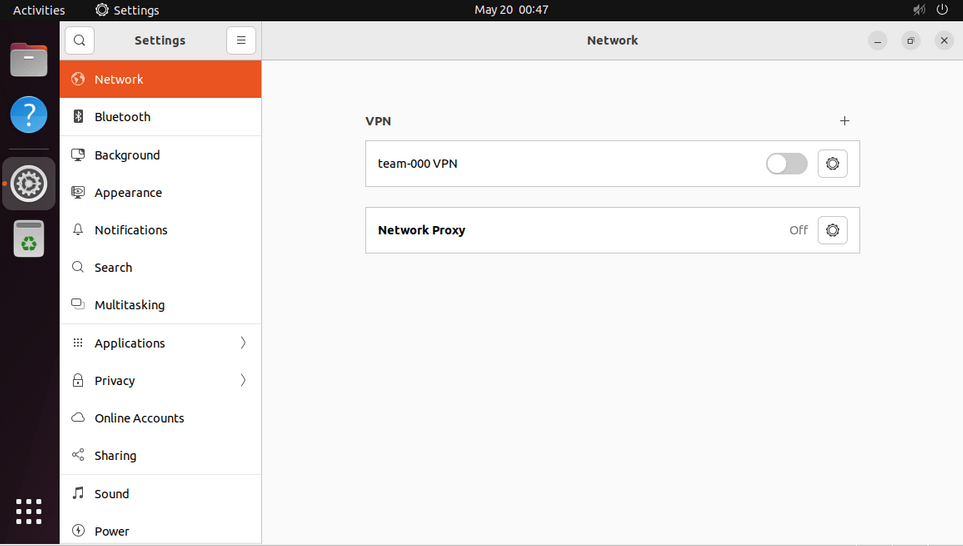
Hit "Add" and you'll see your VPN listed in your network settings. Toggle it on and you'll be connected.

Open the system menu and click "Settings"

Select the "Network" panel and click the "+" sign next to "VPN"

Select "Import from file..." then pick the .ovpn file you'll have received by e-mail


The imported VPN configuration will open, allowing you to make some changes.

Go to the "IPv4" tab and tick "Use this connection only for resources on its network"

Go to the "IPv6" tab and tick "Use this connection only for resources on its network"

Hit "Add" and you'll see your VPN listed in your network settings. Toggle it on and you'll be connected.


Start by installing the network-manager-openvpn-gnome package
Save the .ovpn file you'll have received by e-mail
Import the configuration with sudo nmcli connection import type openvpn file /path/to/team-XXX.ovpn
Configure split-tunneling with sudo nmcli connection modify team-XXX ipv4.never-default true ipv6.never-default true
Configure split-tunneling with sudo nmcli connection up team-XXX
Start by installing the openvpn-systemd-resolved and openvpn packages
Save the .ovpn file you'll have received by e-mail
Adapt the configuration and put it into place with sed '/^## --- 8</,/^## --- >8/ s/^#//' /path/to/team-XXX.ovpn | sudo tee /etc/openvpn/client/team-XXX.conf
Connect to the VPN with sudo systemctl start openvpn-client@team-XXX
Those instructions cover the system-wide installation of the certificate.
Some web browsers also have their own separate trust store that could be used instead of this.
Download the root certificate from ca.crt and open it
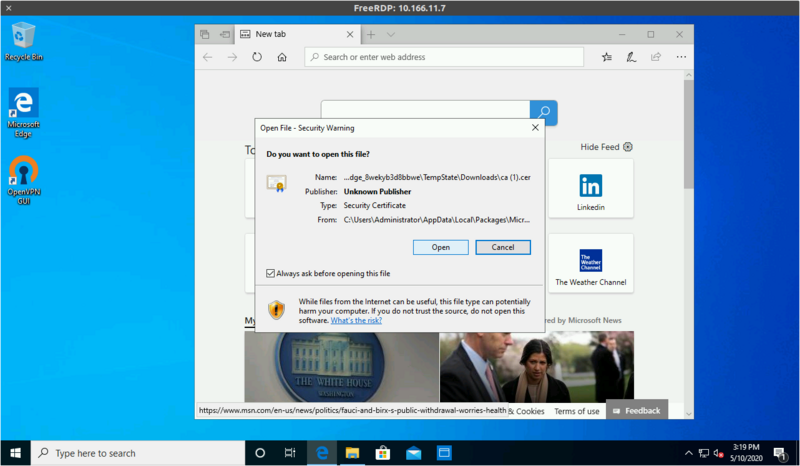
Click "Install Certificate"
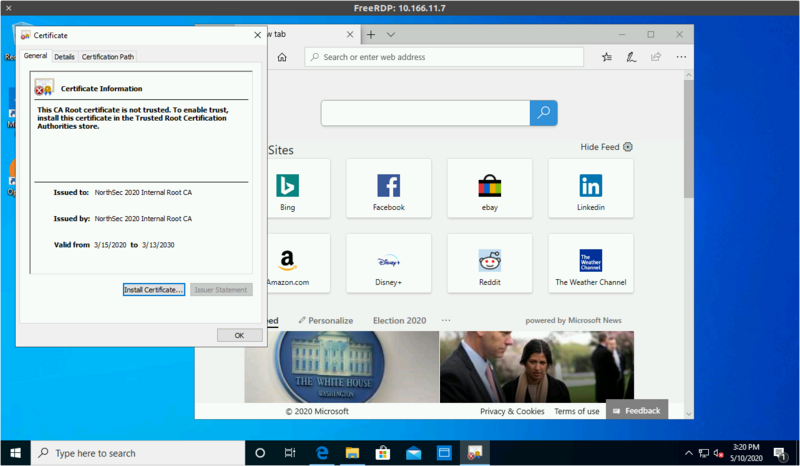
Select "Place all certificats in the following store"
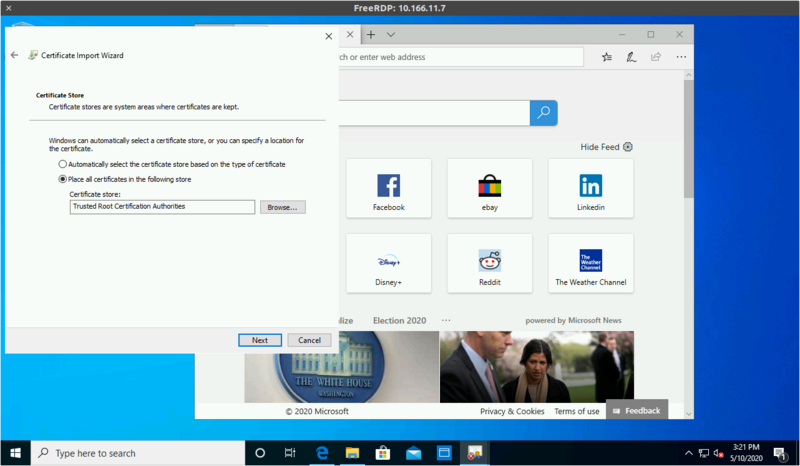
And pick "Trusted Root Certification Authorities"
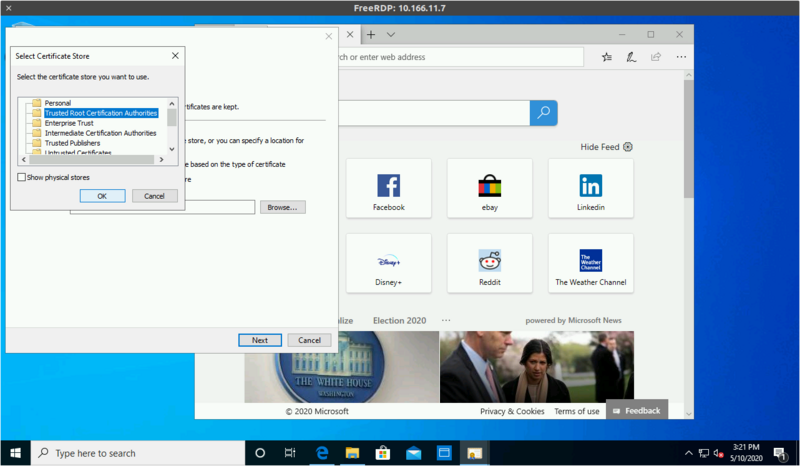
Continuing will prompt to confirm the installation
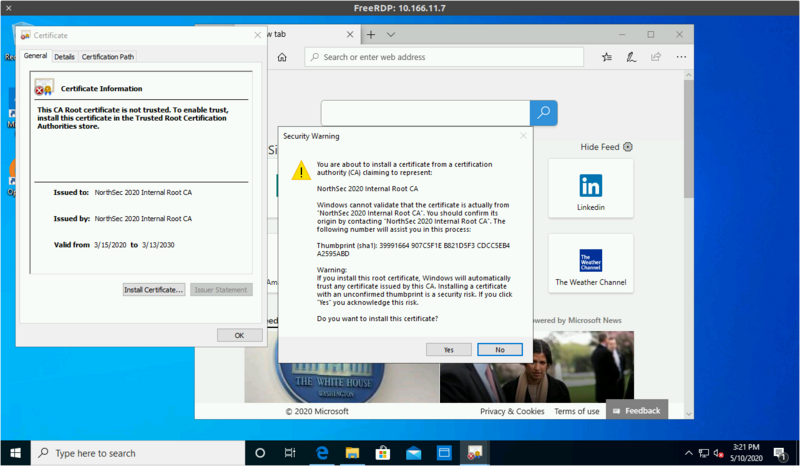
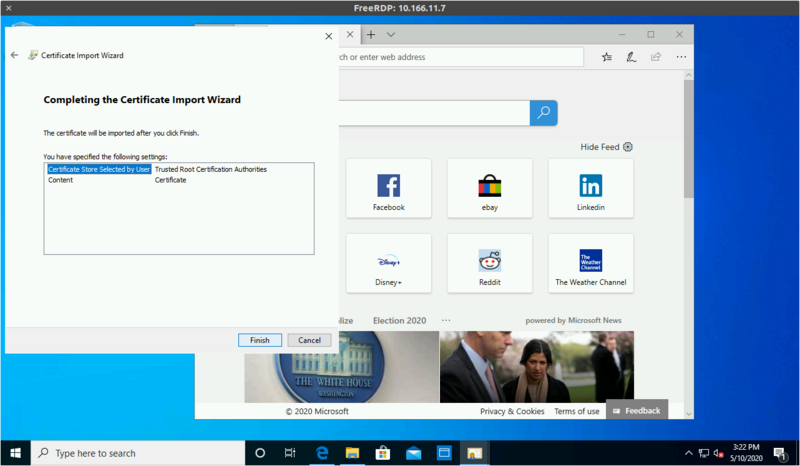
Then complete the process
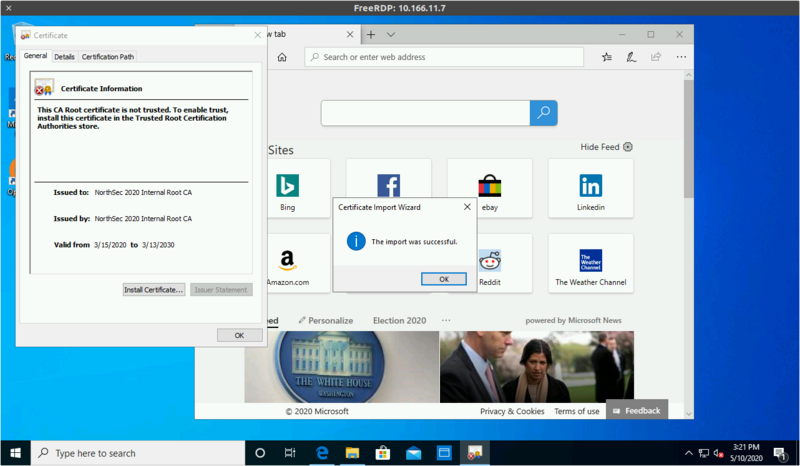
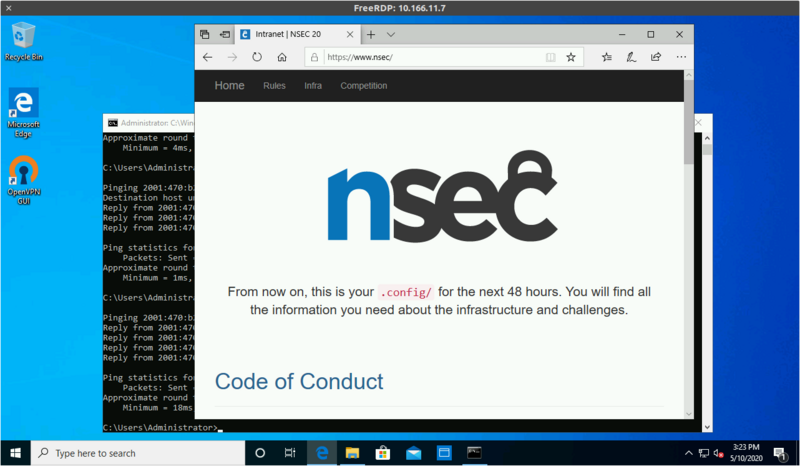
You can then hit https://www.nsec over the VPN to validate
Those instructions cover the system-wide installation of the certificate.
Some web browsers also have their own separate trust store that could be used instead of this.
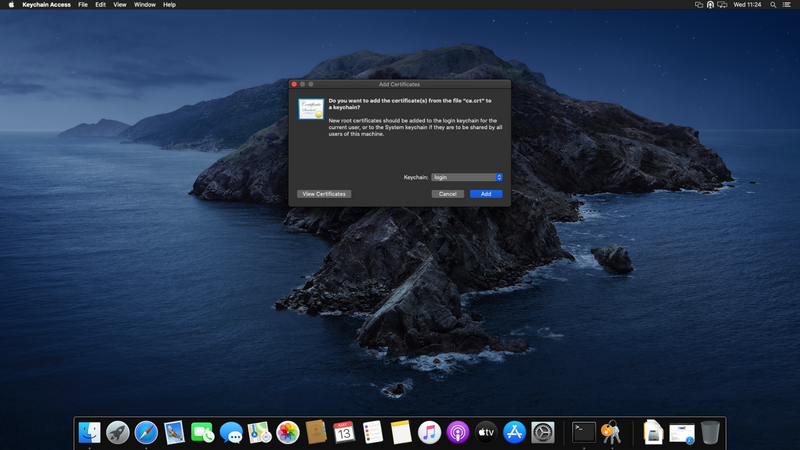
Download the root certificate from ca.crt and open it, keep the default "login" keychain and click "Add"
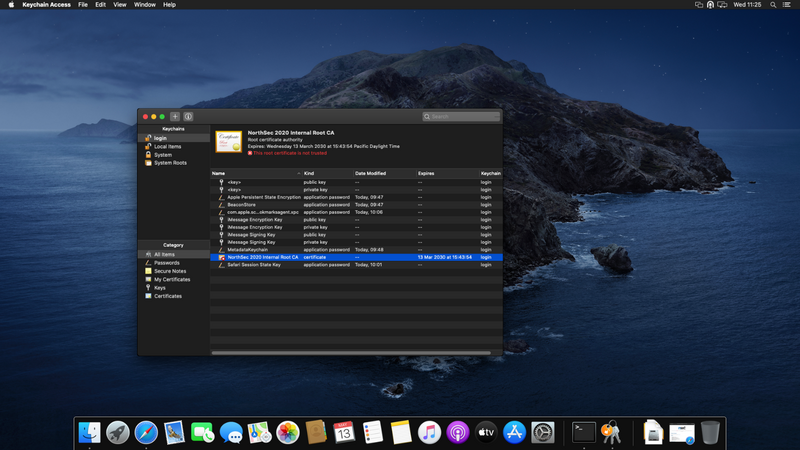
Select the certificate in the "login" keychain, double click on it to open
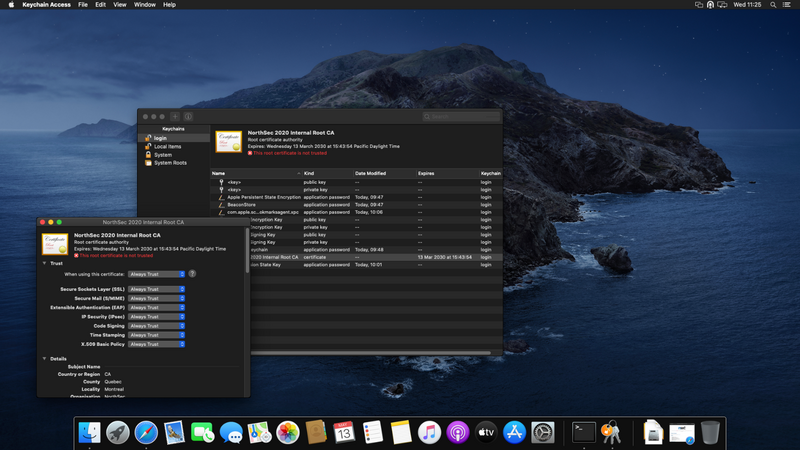
Expand the "Trust" section and set it to "Always Trust" then close the window
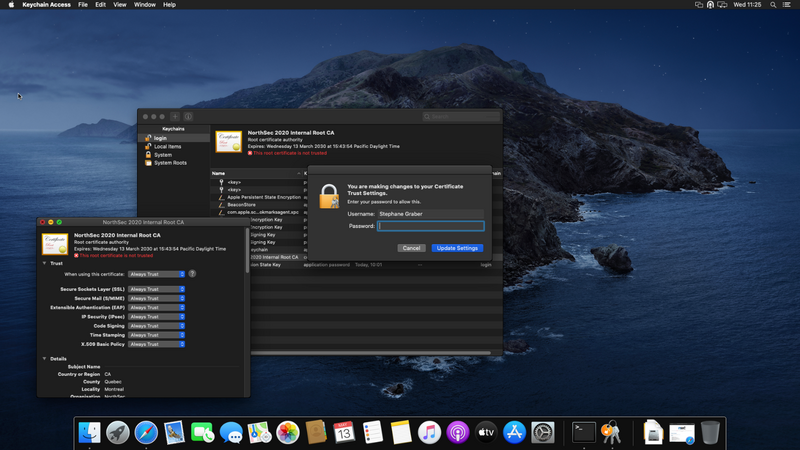
Authenticate when prompted
You can then hit https://www.nsec over the VPN to validate
These instructions assume the default web browser (firefox).
They will differ for other we browsers.
Download the root certificate from ca.crt
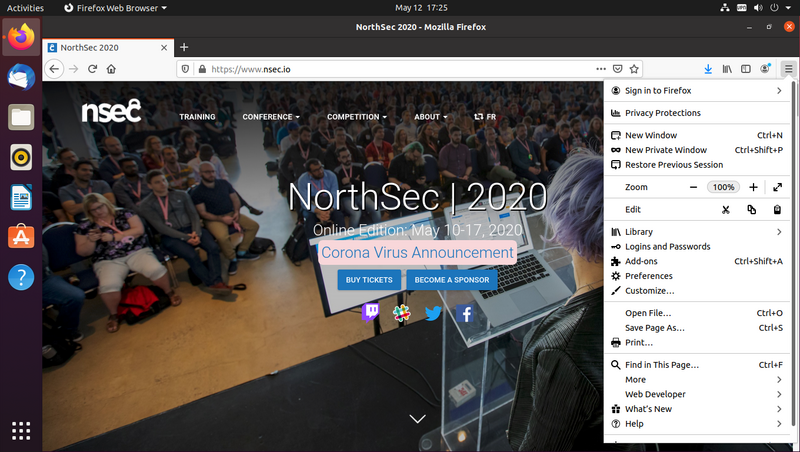
Open the browser menu and click "Preferences"
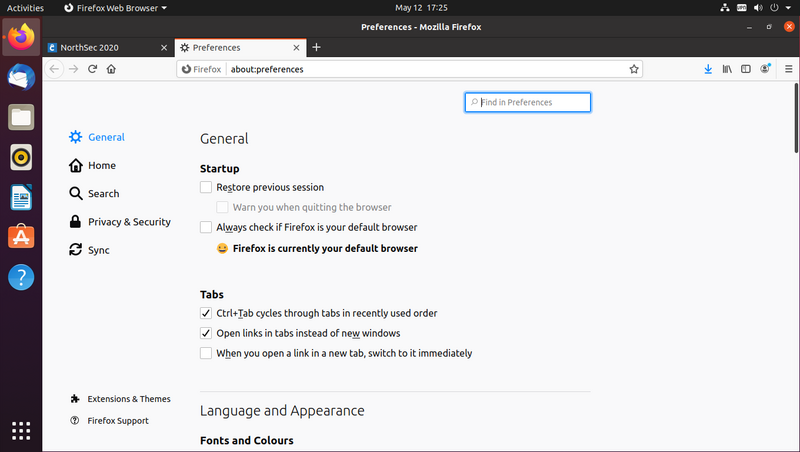
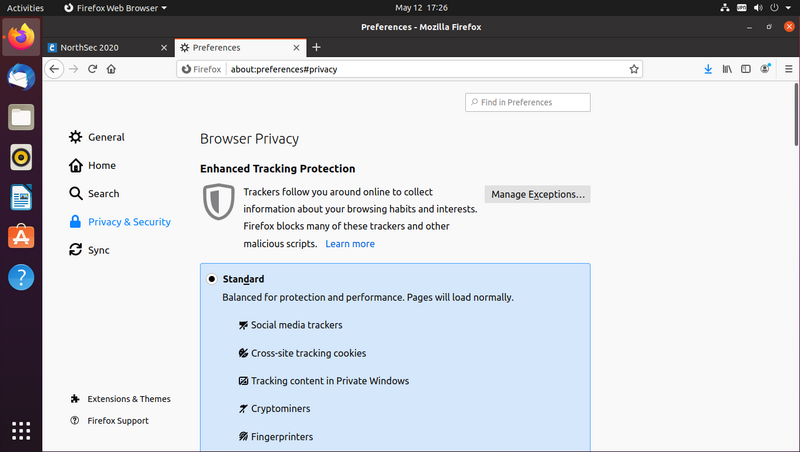
Select "Privacy & Security" from the list on the left
Scroll down the page to the "Certificates" section and click "View Certificates..."
Click the "Import..." button
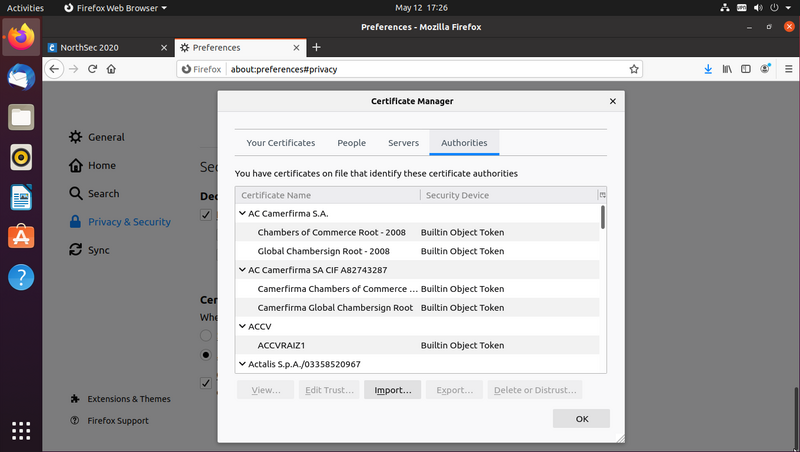
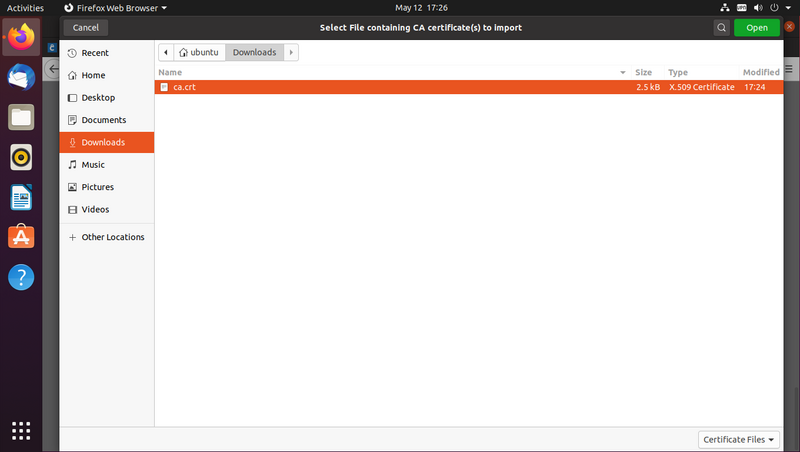
Select "ca.crt" file you downloaded early
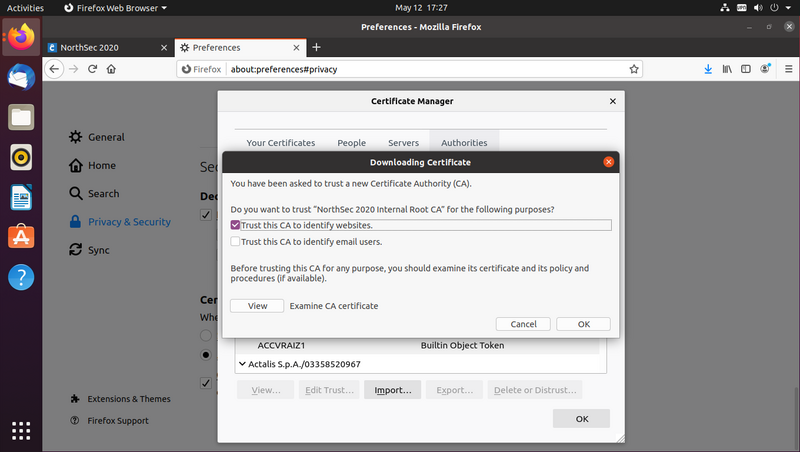
Tick "Trust this CA to identify websites." and click "Ok"
You can then hit https://www.nsec over the VPN to validate
